Craft Post : Custom Bulletin Board
Today I'm going to be showing you what I've done with my bulletin board so far. I didn't take step-by-step pics so I'll just have to explain along the way. These are the things I used;
An old bulletin board I had laying around the house
Scrapbook paper
Scrapbook stickers & embellies
Washi tape (because I'm obsessed)
Mod Podge (I used Gloss 'cause I'm OBSESSED)
Nail Polish (optional)
Push pins (optional)
Brush or foam applicator
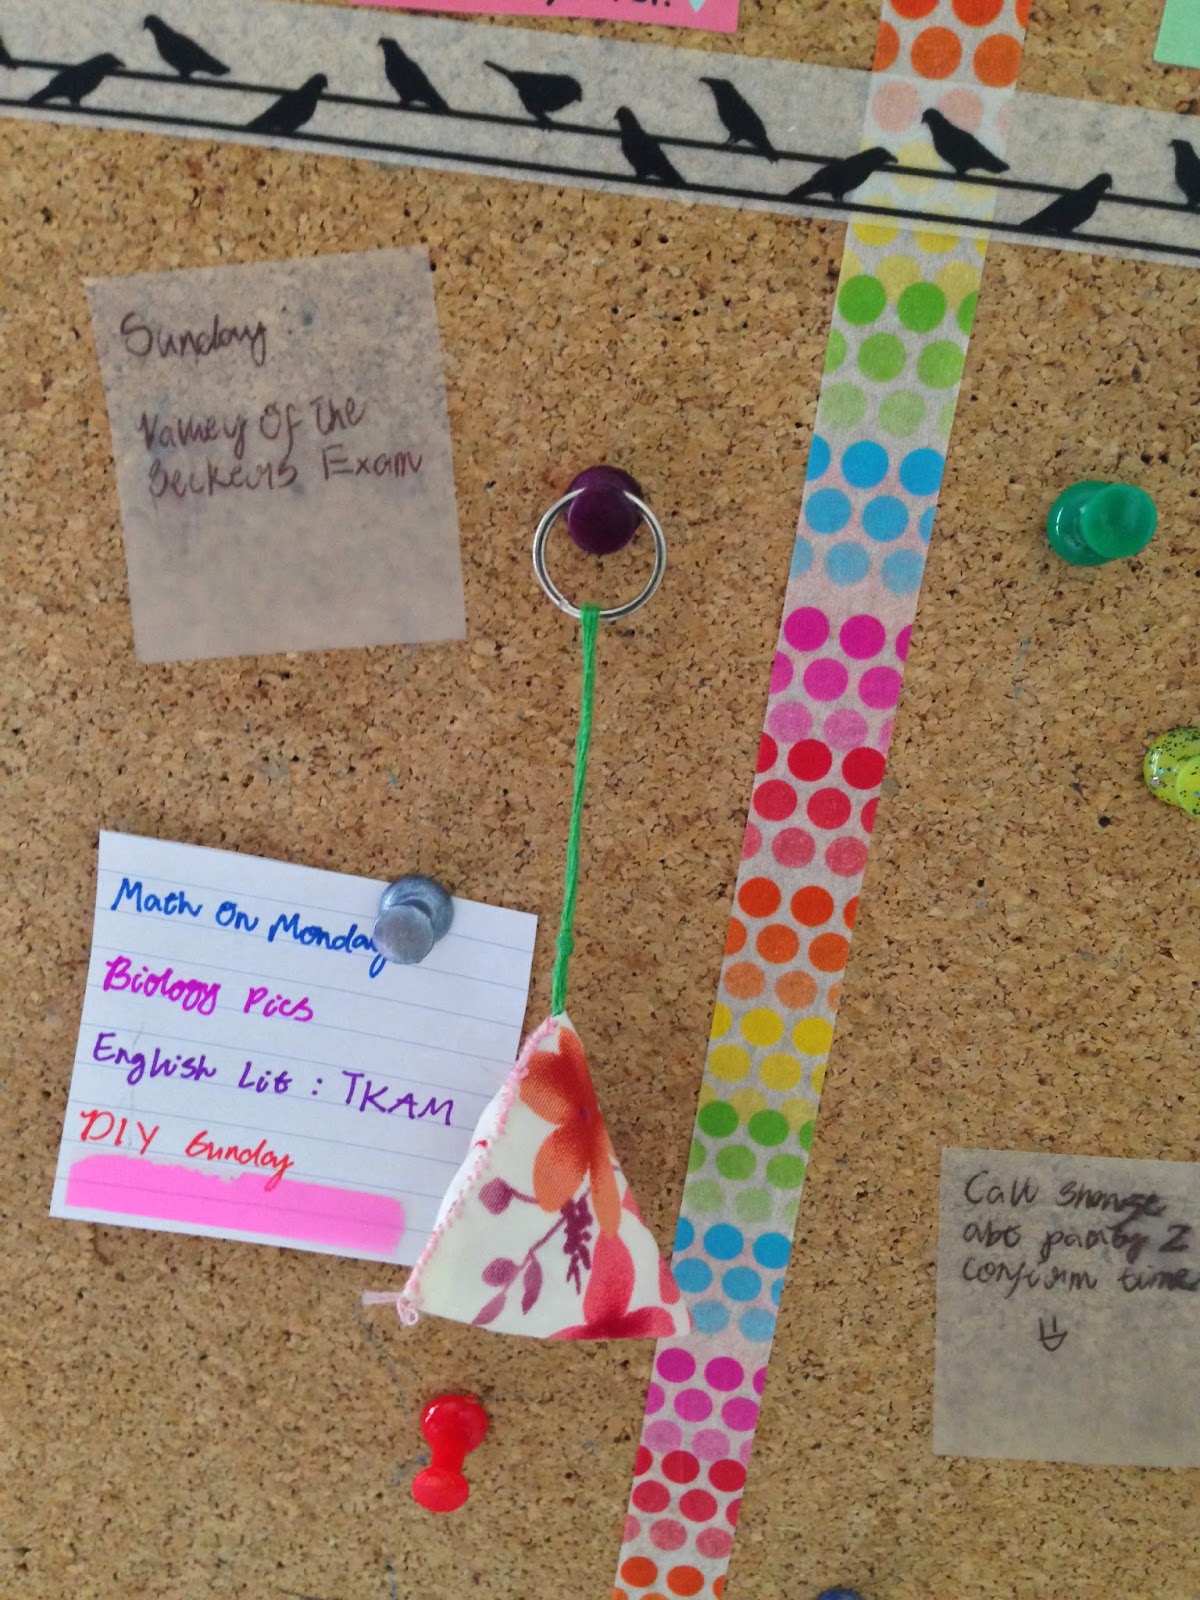
Step 1 :
Divide the board into columns with the washi tape and add a strip over the top. This step was inspired by Tanamontana100 (yes, that's TANA, not Hannah. Her full name is Tana Smith) on YouTube's custom bulletin board. She chose to divide hers into days of the week, but since my board was too small, I just divided it into three. If you like you can also add a border of tape around the edge of the board.

Step 2 :
If, like me, you have one of those absolutely useless flowery boards above the cork and want to cover it up, use scrapbook paper and ModPodge. I sinfully bought a whole pack of school-themed scrapbook paper and this was one of my favorites. I basically measured, cut, and Modpodged the paper in. The next day I sealed it with a thin coat of Gloss Modpodge.

Step 3 :
Add letters standing for day of the week if you have space or, as in my case, add embellishments. I used a combo of scrapbooking stickers and a sheet of teen-themed stickers I already had. Gotta love the pink lips, am I right girls?

Step 4 :
This step is optional, but if you want to jazz up you push-pins, break out that nail polish! I used my Sally Hansen Glitter Blue, Red Ruby and my Sasatinne Beach Peach.

Today I'm going to be showing you what I've done with my bulletin board so far. I didn't take step-by-step pics so I'll just have to explain along the way. These are the things I used;
An old bulletin board I had laying around the house
Scrapbook paper
Scrapbook stickers & embellies
Washi tape (because I'm obsessed)
Mod Podge (I used Gloss 'cause I'm OBSESSED)
Nail Polish (optional)
Push pins (optional)
Brush or foam applicator
Step 1 :
Divide the board into columns with the washi tape and add a strip over the top. This step was inspired by Tanamontana100 (yes, that's TANA, not Hannah. Her full name is Tana Smith) on YouTube's custom bulletin board. She chose to divide hers into days of the week, but since my board was too small, I just divided it into three. If you like you can also add a border of tape around the edge of the board.
Step 2 :
If, like me, you have one of those absolutely useless flowery boards above the cork and want to cover it up, use scrapbook paper and ModPodge. I sinfully bought a whole pack of school-themed scrapbook paper and this was one of my favorites. I basically measured, cut, and Modpodged the paper in. The next day I sealed it with a thin coat of Gloss Modpodge.
Step 3 :
Add letters standing for day of the week if you have space or, as in my case, add embellishments. I used a combo of scrapbooking stickers and a sheet of teen-themed stickers I already had. Gotta love the pink lips, am I right girls?
Step 4 :
This step is optional, but if you want to jazz up you push-pins, break out that nail polish! I used my Sally Hansen Glitter Blue, Red Ruby and my Sasatinne Beach Peach.


